Tuesday, April 22, 2014

Pullover make-over


This pullover certainly came close to disposal. I bought it at Value Village (where else, right?) for about $7-$8. It was the start of winter and I was looking for something warm to wear around the house, and the orange colour (my favourite!) immediately caught my eye. Unfortunately I discovered I'm not a big fan of pullovers; cardigans are more my thing so I contemplated donating it back to VV. Fortunately, I found a tutorial on how to turn an old pullover into a cardigan over at Happiness is...creating and, well, suffice it to say that this orange number is back in my closet.


I started with the tutorial and added my own embellishments. Instead of seam binding, I used twill tape, which I feel are a little strudier and suited to something I'm going to wear a lot. Since the material is thick cotton wool blend, I would suggest using a tape or ribbon that's at least 1" wide. I also added pockets (for practical reasons!) cut out from an old bed sheet and a heart appliqué (why not, right?) from some left over fabric. The result was a slouchy cardigan I can quickly throw on when I'm curling up on the sofa and take off when I'm doing dishes.

Check out the tutorial and see if you can do this to one of your old sweaters!

Tuesday, April 8, 2014

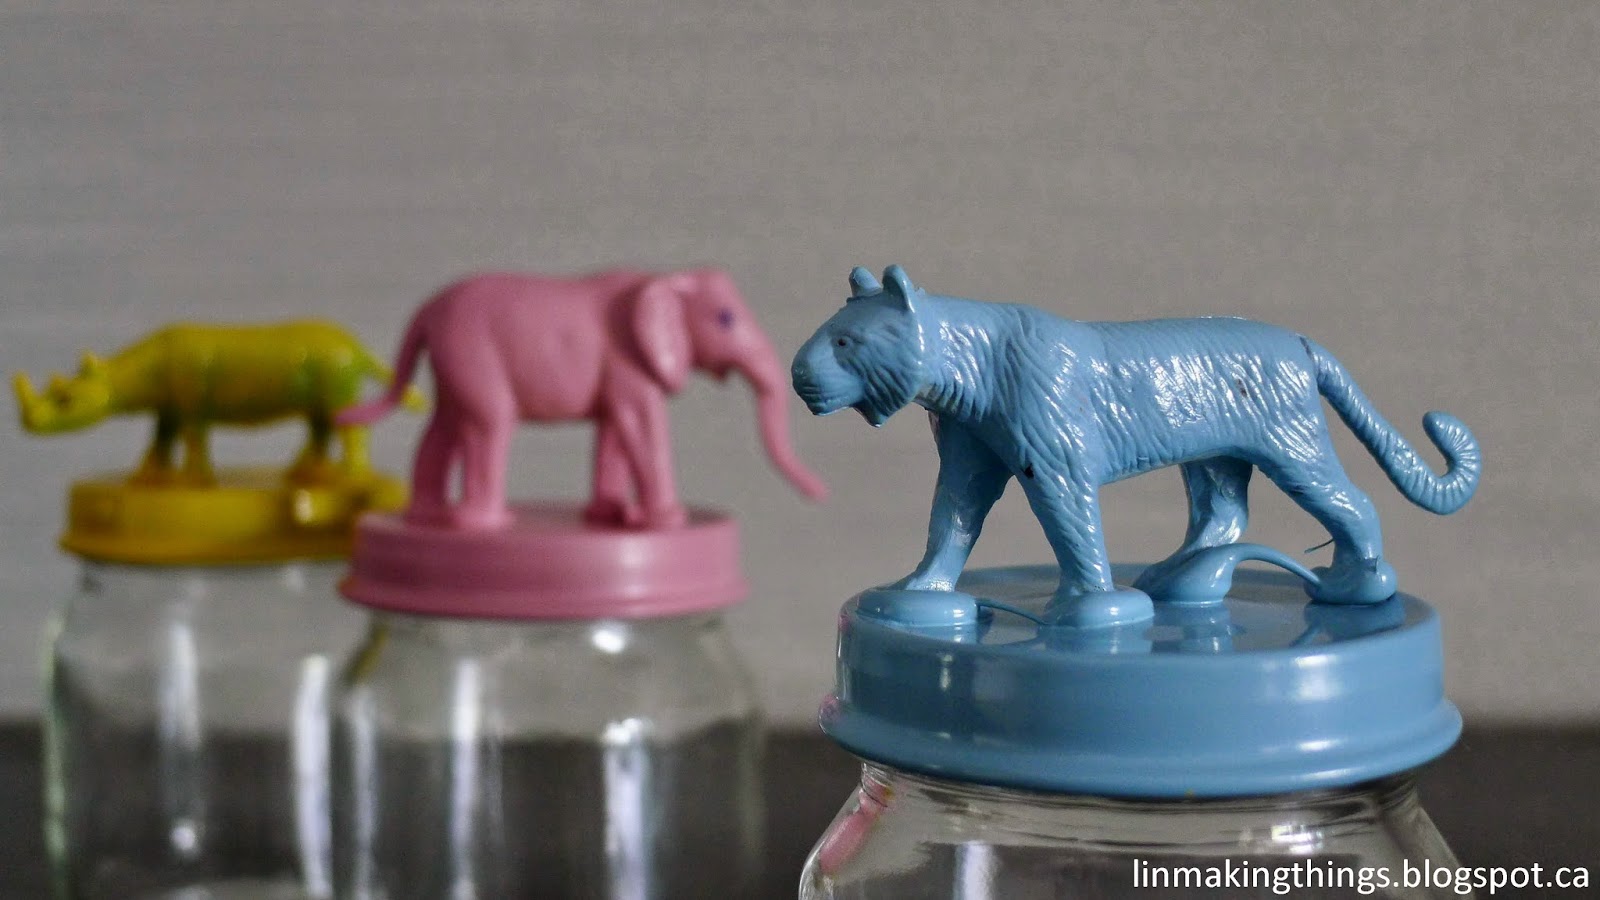
Creature feature jars

Guest post by Nani a.k.a. Crafty Momma

If you're a compulsive jar-hoarder like my sister, you'll like this easy little DIY project.


With a few simple materials and just 30 minutes, you'll have a pretty set of decorative jars that's great for storage or as cute gifts. My sister made hers as a farewell gift and filled the jars with chocolates. You can add a little more feature with complimentary tags or ribbons tied around it.


Read on after the jump for the full tutorial.

Creature Feature jars
What you need:
1. Empty jars
2. Hot glue gun
3. Plastic animals
4. Spray paint


Instructions:
1. Clean your jars and their lids, remove any stickers or residue and wipe dry.
2. Attach the plastic animals onto the lids using your hot glue gun. Let the glue dry completely.


3. Once the glue has dried completely, you can start spray painting the lids with your choice of colours. To get an even and opaque finish, apply 2-3 coats of paint. Alternatively, you can apply a single layer or paint and let some of the animals' texture show through.


4. Let the paint dry completely. Put the lids back onto the jars and voila! You have new upcycled jars.


Have fun making them!