Showing posts with label accessories. Show all posts

Thursday, December 19, 2013

Jump ring bracelet - 100% thrift store inspired!

linmakingthings, beads, bracelet, jump ring, jewelry, eco-friendly, thrift store, DIY, accessory, Value Village

I have to credit my favourite thrift/beading supply store for this clever and incredibly simple DIY. I bought this cute blue ombre plastic bead necklace from Value Village for $1.99, which is a steal considering how many beads there are on this one necklace. On my next visit I saw this interesting little bracelet made all out of jump rings. I didn't purchase the bracelet because it wasn't entirely to my taste but I took a picture of it so that I can replicate it with my own choice of beads. The project was so much fun and easy to make that I made several in one sitting!

linmakingthings, beads, bracelet, jump ring, jewelry, eco-friendly, thrift store, DIY, accessory, Value Village
 
This is, by far, the easiest jewelry I've made; it didn't need any chains, wires, or crimps. All I used were jump rings in 2 sizes, clasps and beads. If you're a beginner, I would recommend starting with this project to get a hang of handling jump rings and tools like pliers.

Check out the tutorial on how to make this jump ring bracelet.

Tuesday, October 15, 2013

Accessorizing for Eid, the eco-friendly way!

Welcome to part 2 (of two) of my Eid/Thanksgiving post! (Click here for Part 1).

This is a quick (and image heavy) post on how I accessorized my Eid oufit the eco-friendly way.


My love affair with beads goes all the way back to my childhood; the earliest piece beaded jewelry I have is a knitted seed bead necklace my mom made at one of her crafting classes when I was five or six years old. It was only last summer that it occured to me to try my hand at beading. Needless to say, my relationship with beads took a different turn from then on.

I call this necklace the Blue Lantern and it's one of the first necklaces I made for myself. This would have cost more than what I'm willing to pay at a retail store so being able to make simple things like this can be really good for your wallet. There are no intricate maneuvers involved, just stringing one bead after another and putting together colours that complement each other. Simple, right?


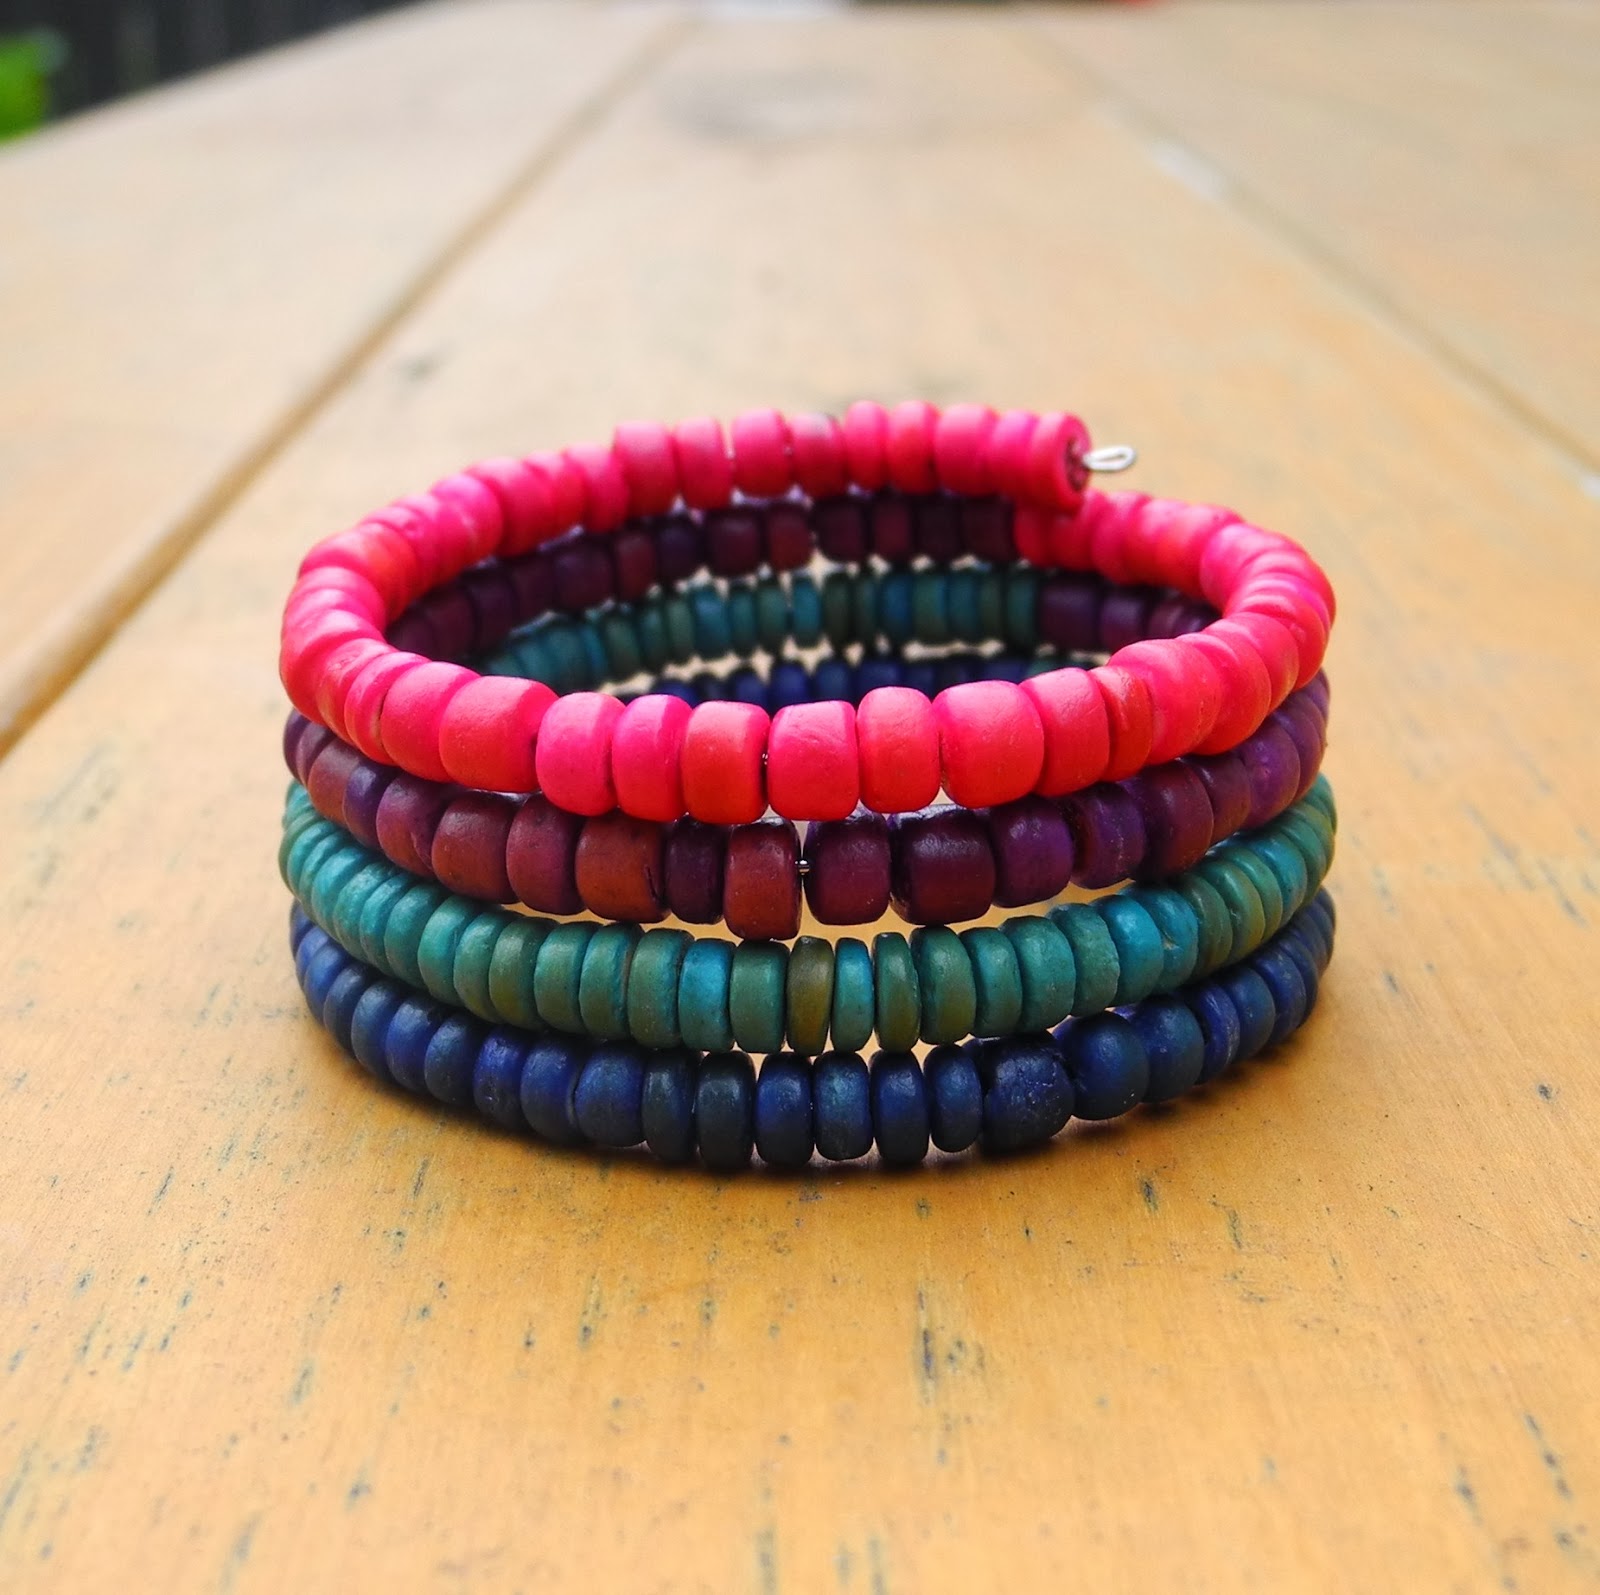
Oh, and here's my favourite part: memory wire bracelet from repurposed clay beads!


This summer, my beading career made a right turn down Eco-friendly Boulevard. I started "harvesting" beads from accessories I find in thrift stores and second-hand shops. The beads I used for this bracelett came from a necklace I found at Value Village for $1.99.


There are huge benefits from repurposing beads from old accessories. First, I'm salvaging things rather than adding to the global garbage heap. Second, I know I'm not adding to the pollution that result from the production of brand new beads. Third, profits from thrift stores like Value Village, St. Vincent's and the Salvation Army usually go towards helping the needy or funding research on cancer or diabetes*. Fourth, used beads have the antiqued, worn-out quality which I like in my accessories. Plus, knowing that each string of bead has its own history prior to my finding it gives that much more meaning to the pieces I make. It's a perfect arrangement, isn't it?


I still need to purchase new materials, such as wires and crimps. Nevertheless, I'd like to believe that every little thing we do makes an impact, no matter how small.

*Not all charities contribute 100% of their profits to their stated goals, so do your research and find out where your money's going.

Wednesday, September 25, 2013

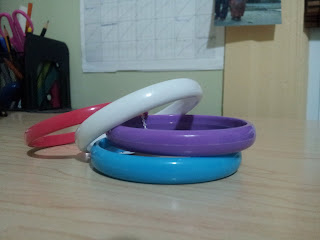
Upcycle thrifted plastic bangles with jewel-toned embroidery thread!


My sister sent me a picture of some embroidery thread-wrapped bangles over a year ago and challenged me to make some of my own. I don't know why but I was intimidated by them and didn't attempt to make them until recently. As it turns out, they are SO easy to make! You literally only need three materials for this DIY project: plastic bangles, embroidery thread and glue. 


I chose a set of four bangles which I bought from Value Village for $1.99 (score!) and embroidery threads in three shades. I wrapped two bangles in solid maroon and pink threads while the other two I wrapped in alternating stripes of maroon, pink and red.


To start wrapping, I dabbed some glue onto the inner ring of the bangle and pressed down one end of the thread. I glued about half an inch of thread to the bangle to make sure it's secure. After the glue has dried (about 1-2 minutes) I began wrapping the thread back over the glued end and onwards until I ran out of thread. To continue with a new length of thread, I made sure to glue it onto the bangle and wrap the previous length of thread over it to make sure it's secure (again). I then knotted the previous length of thread and continue wrapping with the new piece of thread over the knot to hide it. To end, I knotted the thread, dabbed some glue on it, let it dry and then snip off the access thread.


The results was pretty impressive; for a simple DIY, the bangles came out looking quite elegant, especially with the jewel-toned threads.


These were so much fun to make, I might just run over to the thrift store and grab some more plastic bangles!