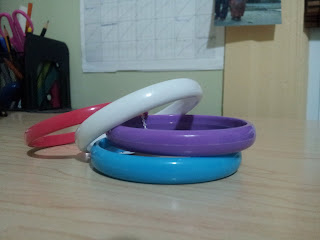
My sister sent me a picture of some embroidery thread-wrapped bangles over a year ago and challenged me to make some of my own. I don't know why but I was intimidated by them and didn't attempt to make them until recently. As it turns out, they are SO easy to make! You literally only need three materials for this DIY project: plastic bangles, embroidery thread and glue.
I chose a set of four bangles which I bought from Value Village for $1.99 (score!) and embroidery threads in three shades. I wrapped two bangles in solid maroon and pink threads while the other two I wrapped in alternating stripes of maroon, pink and red.
To start wrapping, I dabbed some glue onto the inner ring of the bangle and pressed down one end of the thread. I glued about half an inch of thread to the bangle to make sure it's secure. After the glue has dried (about 1-2 minutes) I began wrapping the thread back over the glued end and onwards until I ran out of thread. To continue with a new length of thread, I made sure to glue it onto the bangle and wrap the previous length of thread over it to make sure it's secure (again). I then knotted the previous length of thread and continue wrapping with the new piece of thread over the knot to hide it. To end, I knotted the thread, dabbed some glue on it, let it dry and then snip off the access thread.
The results was pretty impressive; for a simple DIY, the bangles came out looking quite elegant, especially with the jewel-toned threads.
These were so much fun to make, I might just run over to the thrift store and grab some more plastic bangles!